A few minor changes and name change
Wednesday, 15 March 2017

Tuesday, 17 January 2017
Monday, 16 January 2017
Saturday, 14 January 2017


Wednesday, 11 January 2017
Monday, 9 January 2017
Wednesday, 4 January 2017
Task Sixteen-Character Profiles

What I have learnt:
Building a strong character is important when producing a film and this task has allowed us to do that. We will show this information to our actor who is playing the protagonist so that they will get a better understanding of their personality, physical attributes, emotional state and traits. This character profile is also fairly detailed and all areas about his life are covered so that me and my partner have a clear idea of the kind of person he is supposed to be.
Sunday, 1 January 2017
Q2- How does your media product represent particular social groups?
Here is a screenshot of the Popplet for easier viewing

Q1- In what ways does your media product use, develop or challenge forms and conventions of real media products?

Press the image above to continue to my wix page
Sunday, 18 December 2016
Near Final Cut- after reshoot
Learning Comment
The video above is basically our final cut, it is only missing one voice over which we need to record. At this stage we are very happy with the outcome and feel little more can be done to improve what we have editing wise. We have developed and layered the audio more than the last cut, adding more non-diogetic sound to emphasis on the protagonists meltdown. This does add to the thriller sub genre. We have also changed the order of some titles and added more in. The titles are now evenly distributed and last at least three seconds on the screen to give the viewer time to see the text. Certain shots have been improved and stablised as this edit contains footage from both shoots. The font and text has stayed the same, however it is now clearer as we have adapted the positioning and have more shots to choose from. A detailed analysis will be added along with the final cut explaining our reasoning and the opening itself.
Film Diary- 2nd Shoot (December 7th)
We decided to reshoot some of our shots to improve the quality of our video. The weather had affected our planning as we had to postpone several shoots as it was very wet and frosty which would have obviously affected the continuity. The shooting went well and all the shots we took we made sure were taken using a tripod as many of the previous shots were too shaky. Our actor, Joe, looked similar to the first time we filmed him despite having a haircut we styled his hair the same to keep the opening realistic and seamless. However, a slight issue was the sun. As we are in a wooded area, some shots did not have sun on and other did. This did change the lighting and hopefully they will fit with the other clips well and not stand out. Here are some examples


Other than this, all was well. We had to use another pair of socks but we coated them in mud and they look exactly the same. Similarly, we used the bandage and gown again in the same condition which helped continuity.
Wednesday, 7 December 2016
Preparing For Reshoot

Learning Comment
In Todays lesson we planned our reshoot and what will take place. The image above shows what we want to improve and why. For example, stabilising shots with a tripod which we never initially did. This will improve the quality of the video and hopefully help us get the most of our footage and time. The reshoot will take place on Sunday morning/afternoon so the lighting is similar to our first time filming so the new footage will not stand out too obviously.
First Cut (Sound/Titles)
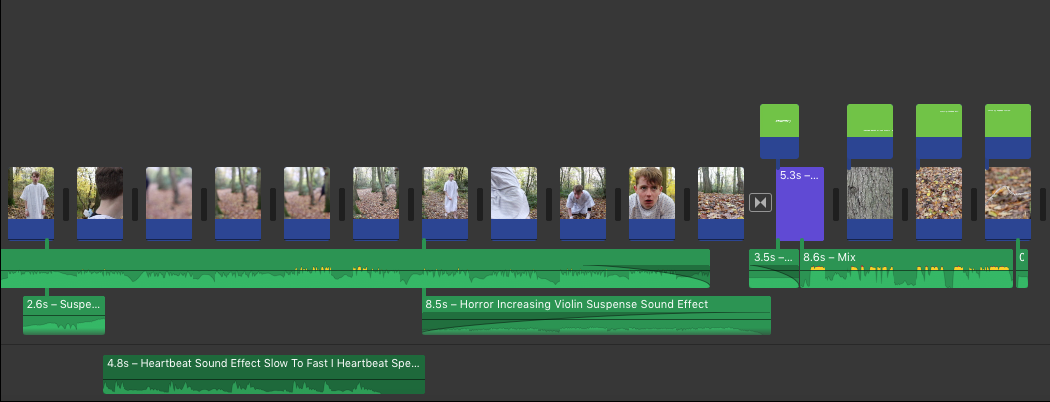
This video shows the next stage in our editing, sound and titles. By including these elements the opening is
starting to take shape and look professional.
starting to take shape and look professional.
Sound:
Putting sound effects and a backing track was fairly simple because we had already found a lot of material in the sound research task. Therefore, we could simply copy them into IMovie and put them in the right areas to add effect. I believe that the sound we have included adds a lot of tension and is used in the right context. For example, the sound becomes more intense at the stage where he starts to go mad to help the audience see this. We have also included sound effects like a heartbeat as a reminder to the audience that something is about to go wrong or that all is not as it seems.

Titles:
We had an issue at first when making our titles because there was not a template on IMovie that suited our needs. Therefore, we had to use keynote, an apple application, to create our titles. This turned out to be a lot easier when positioning text and worked well. One issue we had with using keynote was that we were not able to transform the text as a dissolve etc. This meant that our titles appeared and disappeared with the length of the shots. Even though this is not what we wanted, I think this works well in the sequence because it adds grittiness.


Monday, 28 November 2016
First Cut
This video is our first cut of the opening. We are happy with the outcome and think many of the shots will not need to be repeated. We were surprised about the length of the video as we thought we did not film as much as we needed to. A second cut will need to take place, this Saturday, to improve a few shots to make the video to the quality it needs to be at to achieve a good grade. Here is a list of a few improvements/adaptations which we will repeat-
Shot to link wristband(match on action)
Walk in shot
Shift Focus from tree
Film foot shot with Tripod
Looking around shot
Blur scene retake-need shots of face
Refocus falling shot at the end
Longer/stabilised wire shot
Wristband shot
Pond shot(not raining)
Hidden tree shot
Voiceovers
Refill shot of Joe sat down (Tripod)
Once this is refilmed, we will able to progress the video further by adding sound and titles which will further bring us closer to finishing. The first cut is vital in showing us what needs to be redone and how to improve our camera skills as we need to direct our actors better in certain shots, for example the match on actions when they need to continue moving.
Thursday, 24 November 2016
Raw Footage From First Shot
What Have We learnt
Laying out all of our shots in order, has helped us to quickly identify what was missing and which parts needed to be re filmed straight away. However, we were happy with the quality of our shots because we didn't know what it was going to look like on a computer. We also realized that this video of raw footage was 7 minutes long which was a lot more than we expected, but after a couple of lessons editing, we have managed to shorten the sequence significantly. Overall, this has been a successful task and start to filming because we included a variety of shots and know exactly what we need to do to improve in our second shoot.
Wednesday, 23 November 2016
Film Diary- Sat 19th November
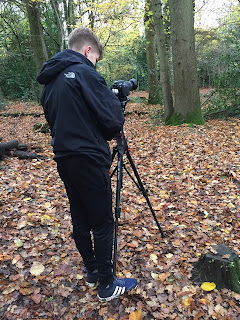
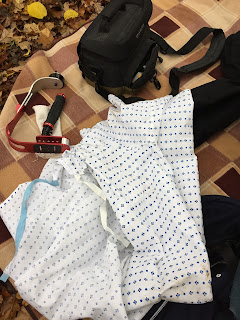
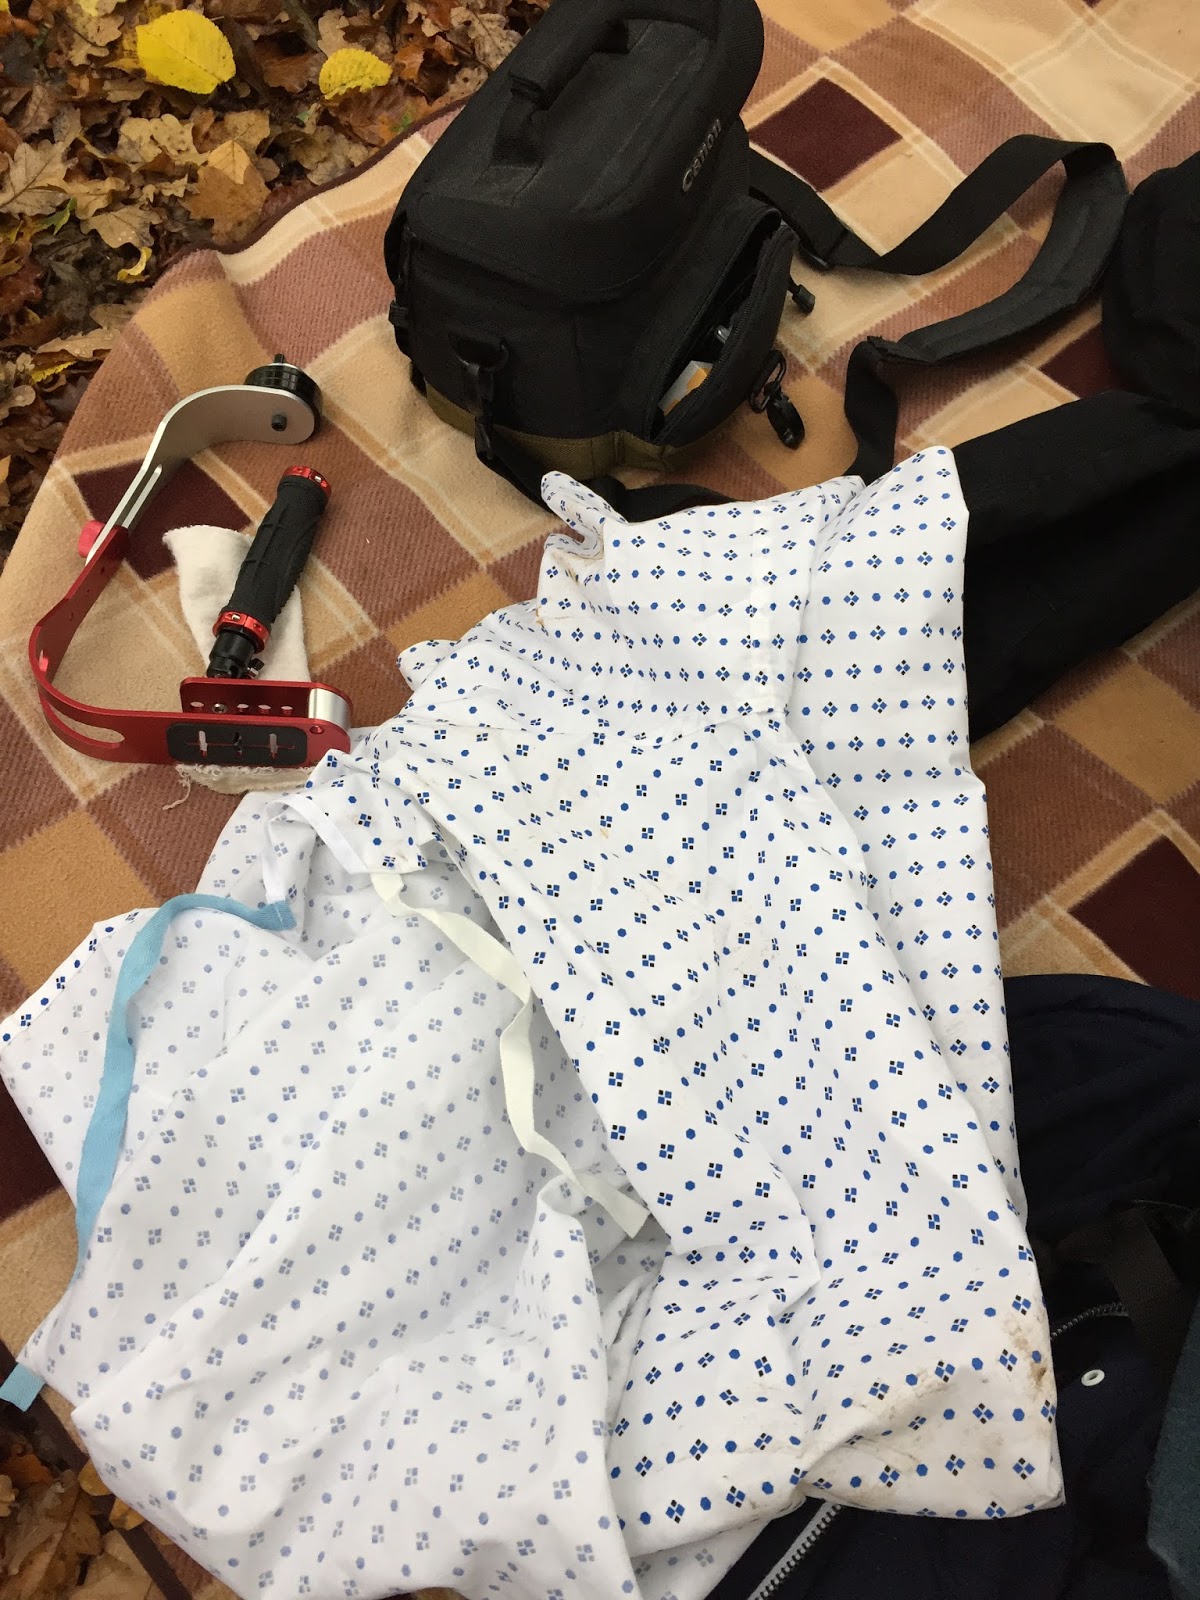
We began our first shoot on Saturday. The weather was overcast mostly but we did encounter alot of rain. Thankfully, we filmed in intervals from 12-4 when it was dry so the equipment and footage was not damaged. The area was slightly waterlogged and the lighting dim which helped us present a thriller setting and uncomfort to the audience. Here are several shots of the setting and protagonist on the day of filming.








Contacting Our Actor

What I have learnt:
Luckily, our actor was free on the day that we wanted to film and was able to provide a sim card and camera equipment. Therefore, it was easy/quick to contact him and ask Joe if he was able to film which meant that we could started shooting on a day that suited all of us.
Tuesday, 22 November 2016
Equipment Used
We were lucky enough to use some very advanced and expensive camera equipment as our actor, Joe, was a keen photographer. This allowed us to try some more interesting and difficult shots which could not have been achieved using an iPhone which we had previously used at the research and planning stage. For the majority of the shoot we used basic setting however we took advantage for particular shots, for example a Pull Focus.

 The camera we used was a Canon 700D . This allowed us to explore different techniques which we have never tried. The two main settings we used were 'auto focus' and 'manual focus'. The auto focus made simple shots easy and this helped us finish all the shots in a reasonable time. The manual focus was very useful when we wanted to focus on a certain item, for example a tree, instead of the protagonist. This gave the shots look more professional and creative. The zoom on the camera was also very useful as it kept a good quality resolution throughout and meant we could film from positions further away.


In additional, we used a separate lens for certain shots to keep a high quality while zooming, for example the pans. They were very simple to replace and swap over which helped while we were filming in the cold as it wasn't fiddly.

As both of us didn't have any filming experience, we were often shaky in previous task while using the iPhone. To counter this, we used a tripod with a lever attached which helped us smoothly pan up, down and across seamlessly. The Tripod even had a spirit level on so we could make sure shots were level on the uneven surface. Lastly, we could adjust the height and keep all the shots at the same level when wanting to keep consistency, for example a match on action taken from a different angle.

The last item we used was a 'steadicam'. We only used it once for a tracking shot as it made a lot easy then doing it handheld. Hopefully this is clear in the video and adds a professional feel to the opening.
What Have I Learnt
I was very uneducated in camera technology before researching and starting to film. Learning more has allowed me to focus on certain and more creative shots to engage our audience. Furthermore, it has shown me that filming on a mobile phone limits the quality and what you can achieve as it only has very basic settings. Similarly, the video quality can only be as good as the camera you use, as the higher quality resolution adds great realism to our opening. Lastly, the weather can affect how well the equipment works, for example drops on the lens ruined many shots, so they had to be redone.
Monday, 21 November 2016
Buying Props
Because our protagonist has escaped from a hospital, we needed to make sure that he looked like a patient and therefore our actor couldn't wear ordinary clothes. We had to buy some props as they were not easily accessible to us.
Hospital Gown

This item was easy to get because there were lots of search results on eBay. The gown also arrived before the day that we were filming which meant that we didn't have to worry about having the props before then. The one that I chose was exactly the same as the NHS hospital gowns which means that it will be easily recognisable for the audience.
Hospital ID Band

We experienced issues whilst trying to get an ID bracelet because we were not aware of the dimensions of a band that would fit an adult. We decided to order this bracelet hoping that it would be the right size, which it was. This was a crucial prop for our sequence because this was thing that would reveal the protagonists identity.
Medical Tube

This item did not arrive before our first shoot which meant that we were not able to use it. Even though it was not a crucial prop, it would have helped the audience even more about where the protagonist had escaped from. However, we used a bandage instead as shown below which was still an effective way of displaying the fact that he was in hospital.

What I have learnt:
Purchasing these props has helped us to think about more shots that we can use to make it clear to the audience that he is from a hospital. We also made sure that we split the cost of the total amount of all the props so that one person was not paying for it all themselves. This worked well because the cost of all of our props was very low but was also exactly what we wanted.
Subscribe to:
Posts (Atom)